Post-Ride Beers
Kayna Robison - Feb 4, 2026
We’re excited to share your events with the community! Adding your event to our calendar is easy – no account or login required. Once you submit your event, it will be reviewed for approval and then appear on our site.
What Kind of Events Can Be Added
Our calendar is designed to highlight events that bring the community together around cycling, fitness, and outdoor activities. Examples of events you can submit include:
- Group rides – of any discipline and pace are welcome
- Workshops or clinics – bike maintenance, safety, or skills training
- Races or competitions – organized events for all skill levels
- Fundraisers or charity rides – events that support local causes
- Community meetups or social events – club meetings, coffee rides, or cycling socials
- Cycling advocacy or volunteer events – trail maintenance, bike advocacy meetings, or community rides. If you have a an effort that is not a specific event but more of a call to action, please visit our Get Involved page.
Events should be safe, legal, and open to the public or a clearly defined group. Please reframe from using any offensive or inappropriate language or images in your event submission.
PNW Ride Network will not tolerate any hate speech and your event will be denied.
Step 1: Access our Event Submission Form
Go to our [Submit an Event] page on the website. You’ll see a simple form where you can enter your event details.

Step 2: Fill in Your Event Details
Include as much information as possible to help people understand your event:
- Event Title – Make it clear and descriptive.
- Description – Add details about what’s happening, who should attend, and why it’s valuable.
- Date & Time – Include the start and end date and time.
- Venue & Location – Enter the venue name and address. You can also include a link to a map if helpful.
- Organizer Info – Provide a name and contact information for attendees who may have questions.
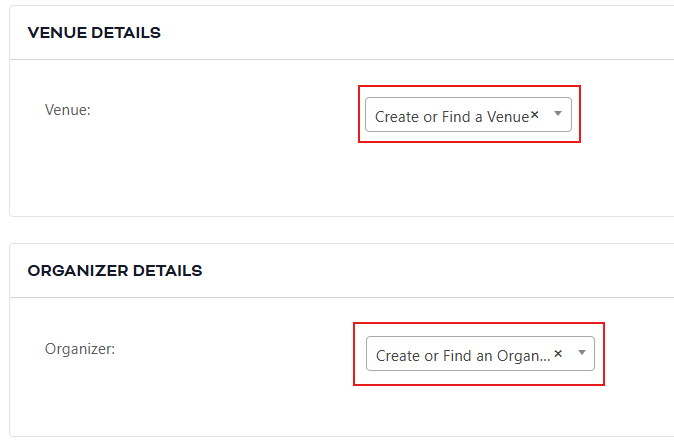
When creating a new venue or organizer click the dropdown box “Create or Find a Venue” or “Create or Find an Organization”
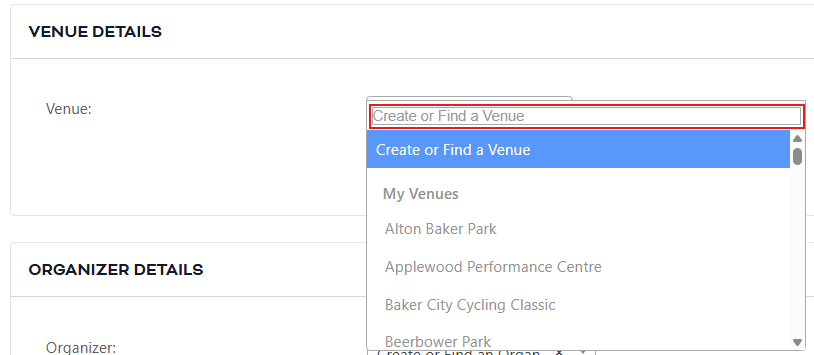
Important: Please check for your venue before creating a new one. If your event has been listed in the past, your venue info should still be on file.
Check to see if the venue already exists. If it doesn’t’, start typing the Venue name in
“Create or Find a Venue” field as shown below:
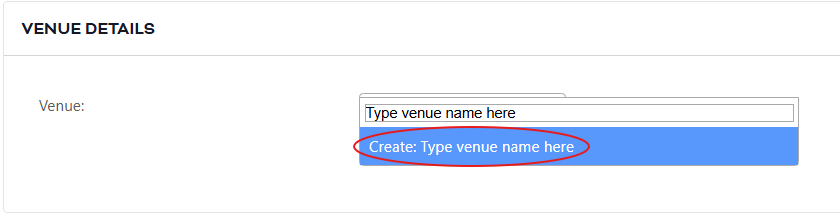
One you have entered your venue name, click on “Create: Type venue name here”
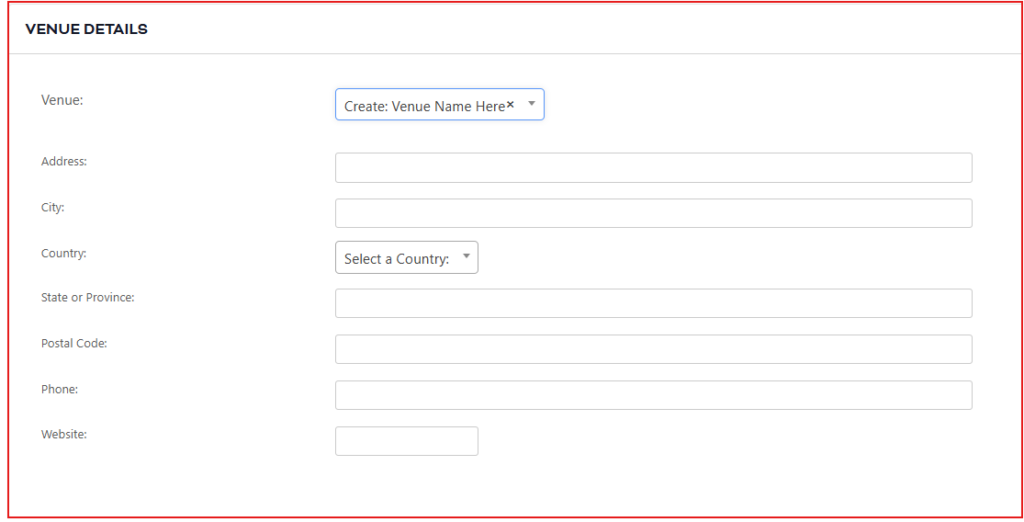
Venue details will appear below. Enter address, city, country, state or province, postal code, phone and website. There are no required fields, but to ensure your event shows accurately on the map, fill out as much information as possible.
Repeat same steps for Organizer info.
Step 3: Add Categories and Tags
If the form includes categories or tags, choose the ones that best describe your event. This helps visitors find your event on the calendar.
Step 4: Verify You’re Not a Robot
Complete the CAPTCHA at the bottom of the form. This helps us prevent spam and ensures your submission goes through smoothly.
Step 5: Submit Your Event
Click Submit. You’ll receive a confirmation message letting you know your event has been sent for review.
Step 6: Approval and Posting
Once we review your submission, you’ll receive an email letting you know if your event has been approved. Approved events will appear on the calendar for the community to see. Please allow 1-3 business days for approval (we are usually pretty quick).
Tips for a Great Event Listing
- Be as detailed as possible so visitors know what to expect.
- Include links for registration or tickets if applicable.
- Use a clear, engaging event title to help your event stand out.
Want more visibility? Visit our Contact Us page for more information.
